Fabric Exhibition Solutions
Product Overview
Fabric Exhibition Solutions are made up of two main components: a strong, lightweight, tubular aluminium frame and a printed fabric cover.
Product includes specified sized units with specialised feet and connectors to join walls together. Also includes standard feet so that the wall units can be used individually if required.
The 260gsm 'stretch' fabric cover is printed on the front with a white reverse and is designed to fit snugly over the frame. It is then secured at the bottom with a zip fastening to maintain tension.
Assembly can be performed by one person, but in most cases we recommend at least two people to apply the graphic. Assembly time is approximately 10 minutes.
The graphics are printed with a VUTEk FabriVU 340, resulting in a rich and vibrant finish which is excellent for exhibition and indoor displays. Graphics fold up and fit in the bag, making these units light and easily transportable.
The fabric cover is washable and easily changeable. Additional or replacement graphics can be ordered separately. Old graphics can be recycled with other textiles.
- Lightweight and strong aluminium hardware components.
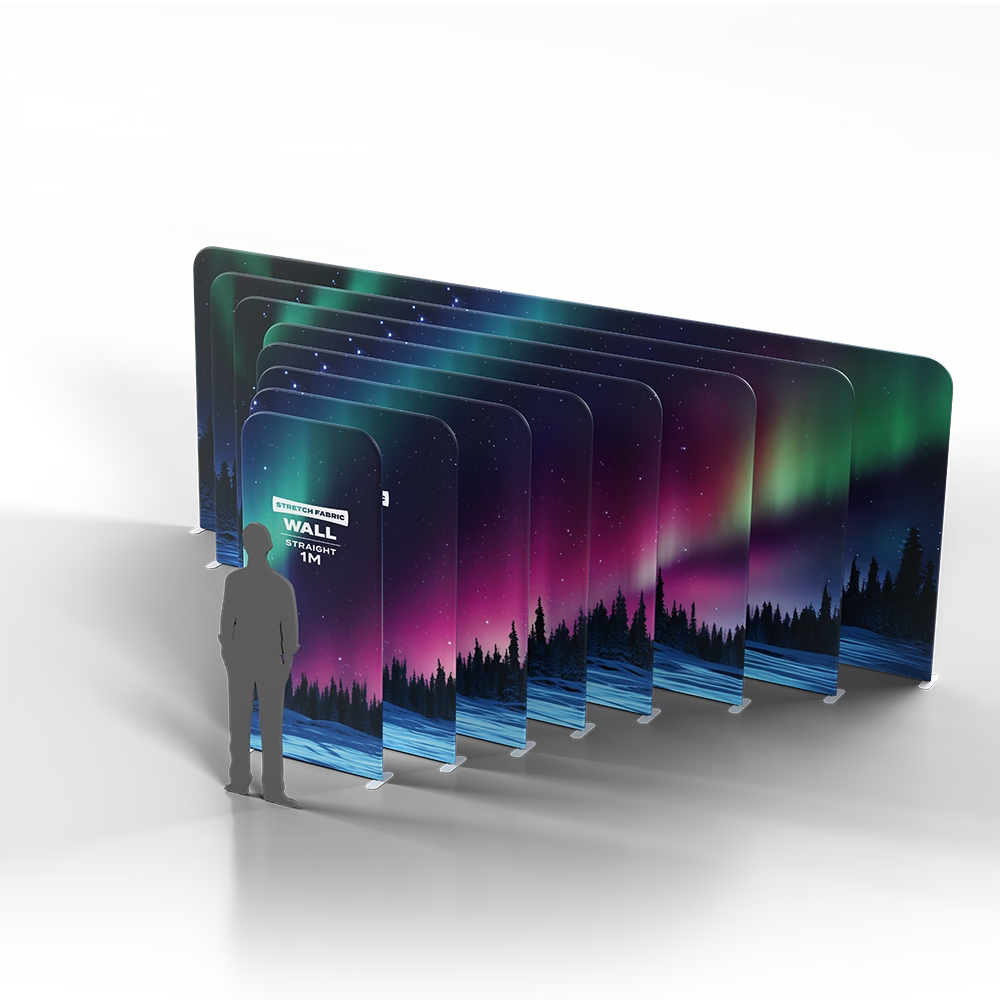
- Includes a bespoke-printed graphic (either 2.4m/3m/4m/5m/6m wide)
- Bespoke-printed graphic on Stretch Fabric.
- Printed in-house on a VUTEk FabriVU 340.
- Finished in-house by our team of sewing machinists.
- Includes a carry bag that contains the unit hardware for easy portability and transportation. For some of the smaller sized frames, the graphic can also fit inside the carry bag. Larger graphics will need to be transported separately.
There is no additional charge for more than one design or artwork for your order, no matter how many walls you are ordering.
Replacement Graphics
Replacement (new) Fabric Exhibition Solutions graphics are available without the product hardware. Printed, finished and delivered direct to you or your client.
Measurements
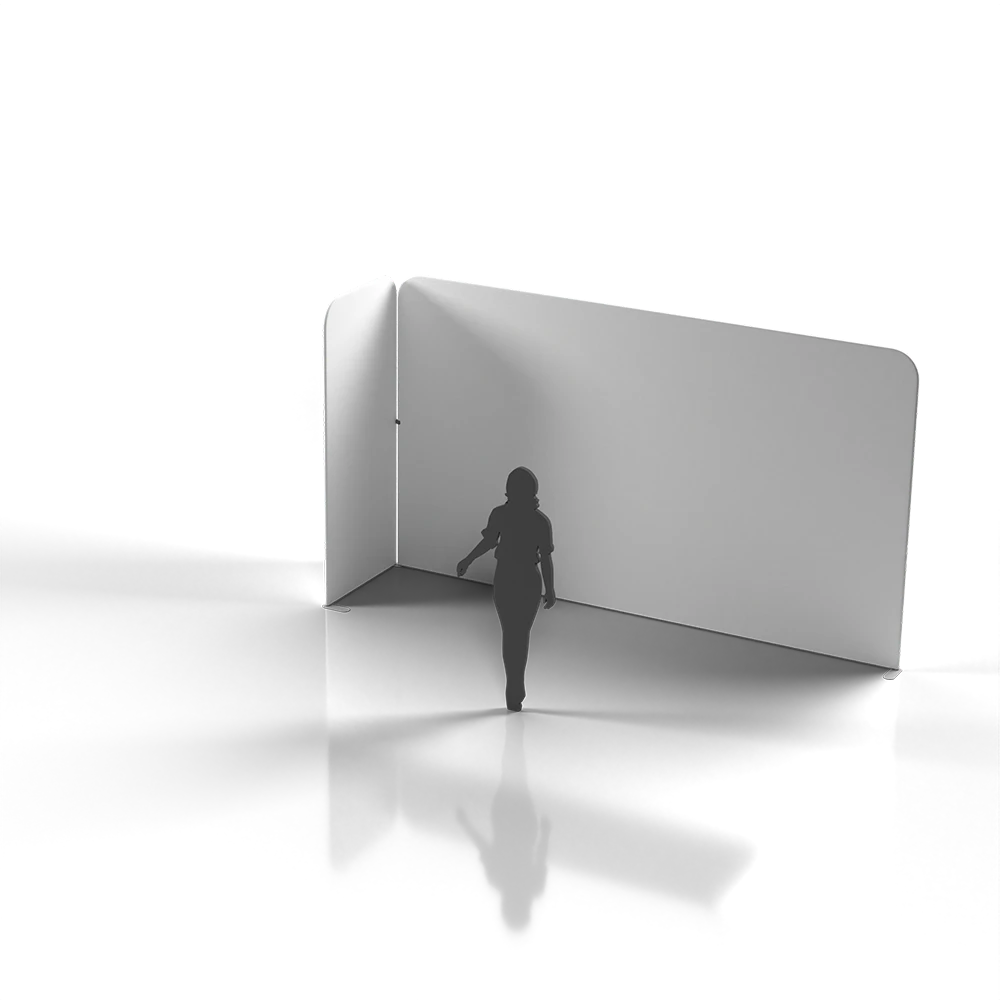
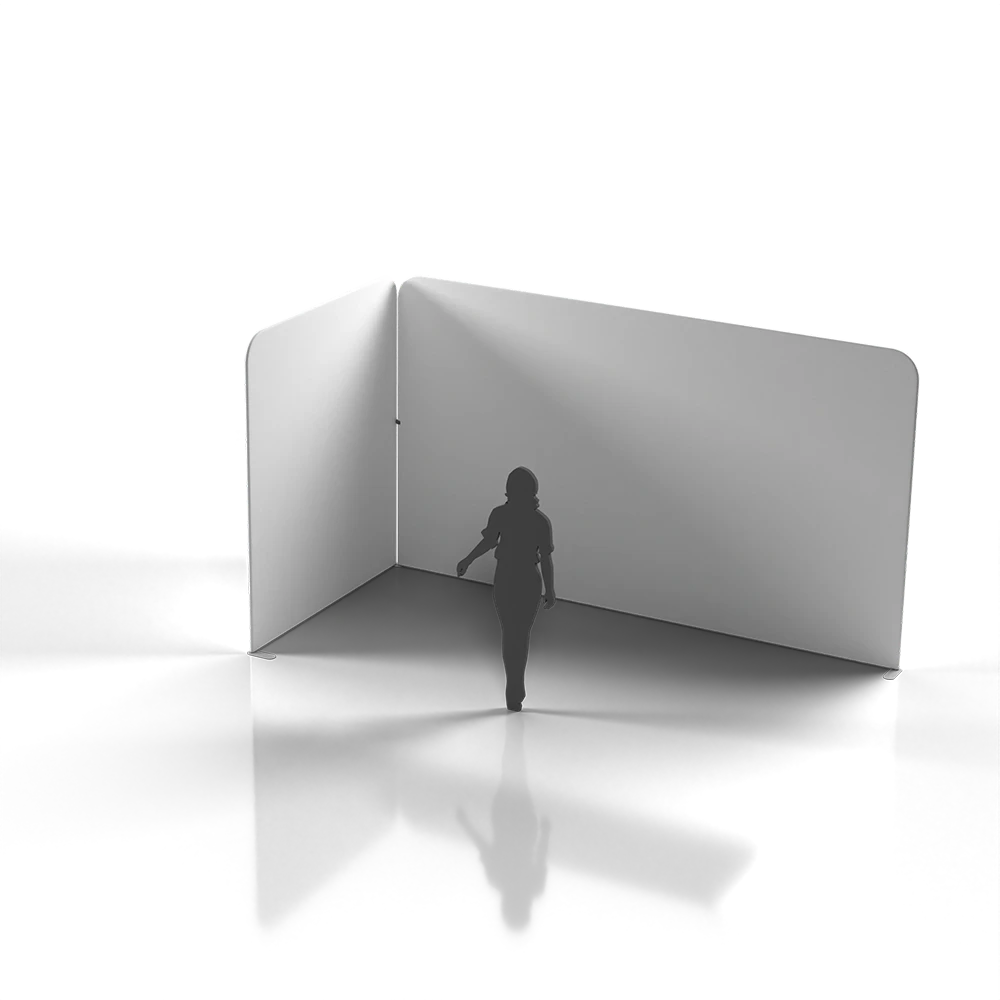
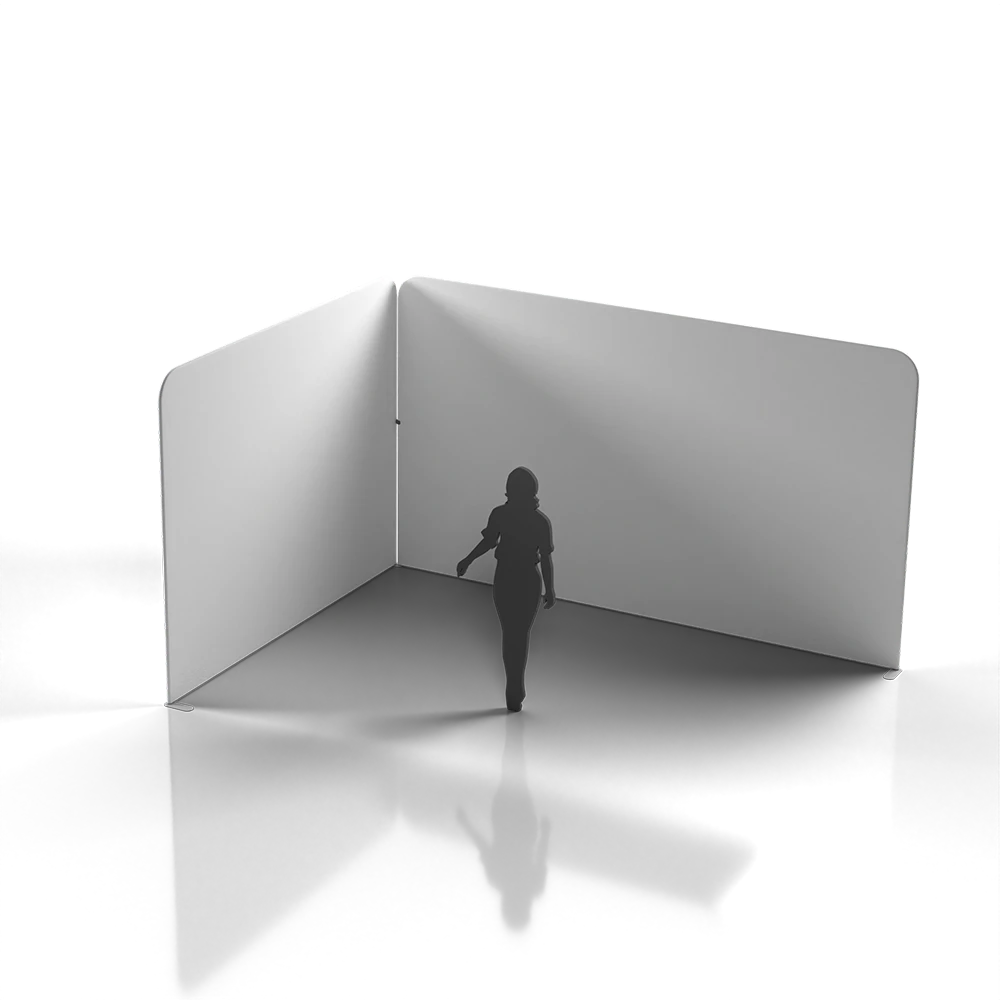
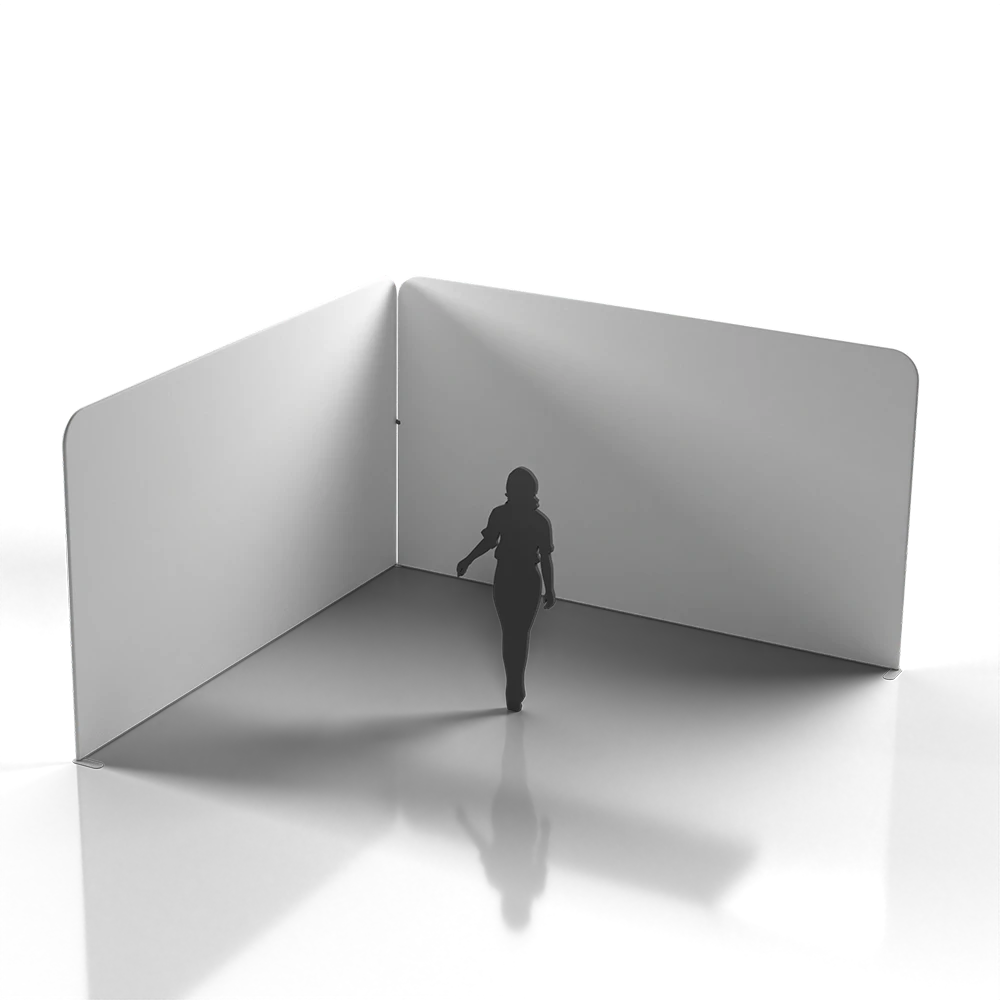
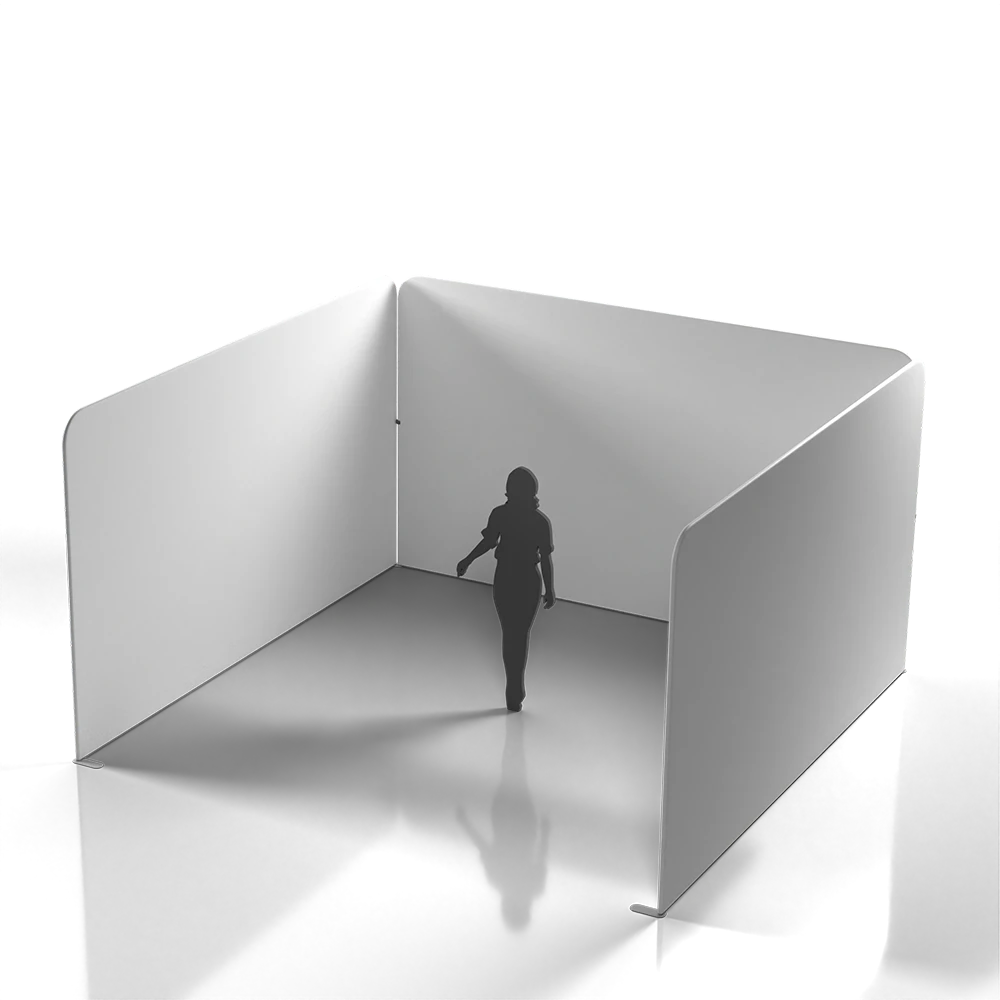
Two Walls
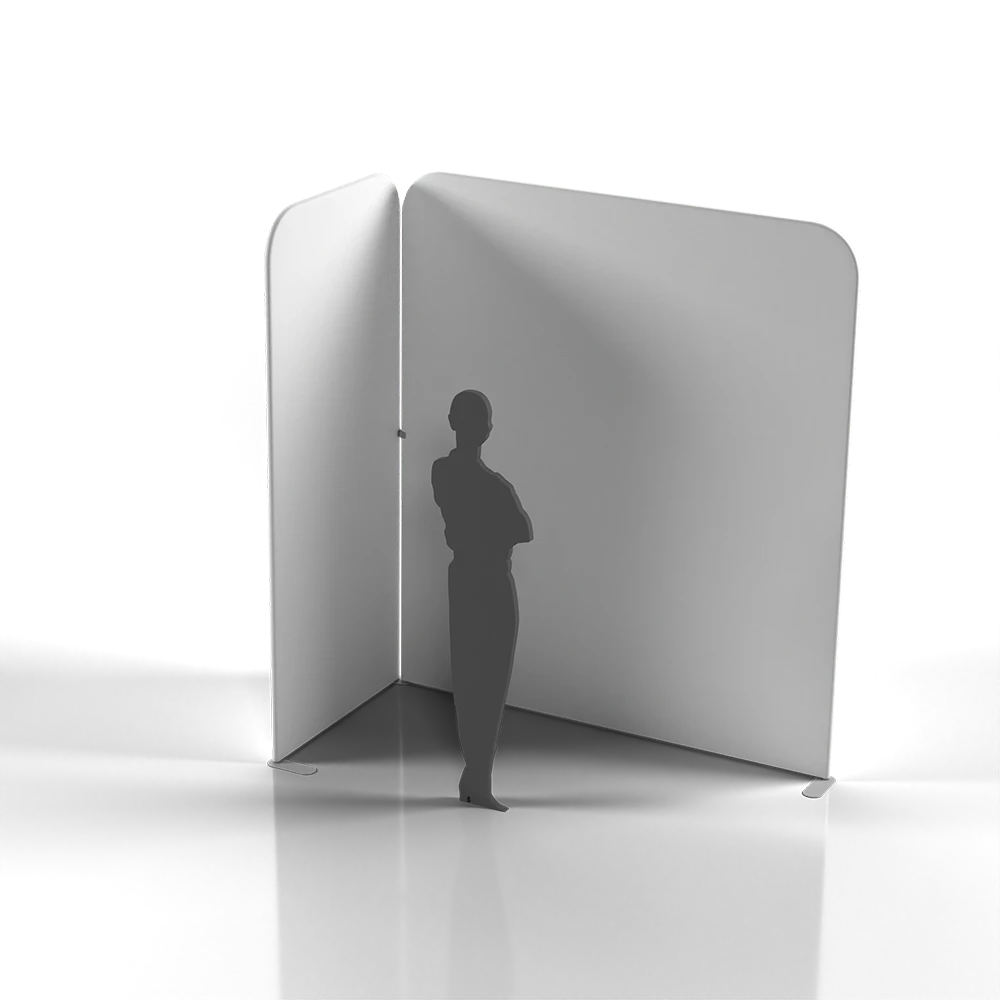
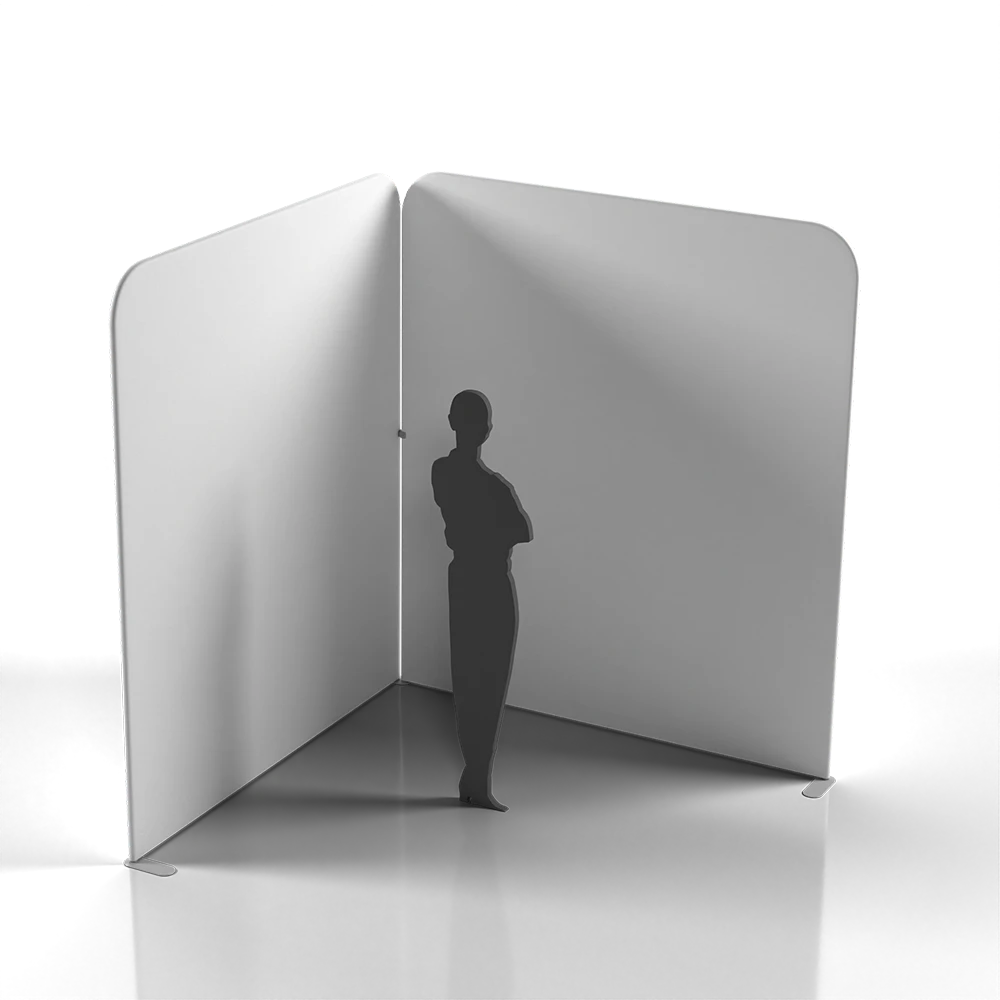
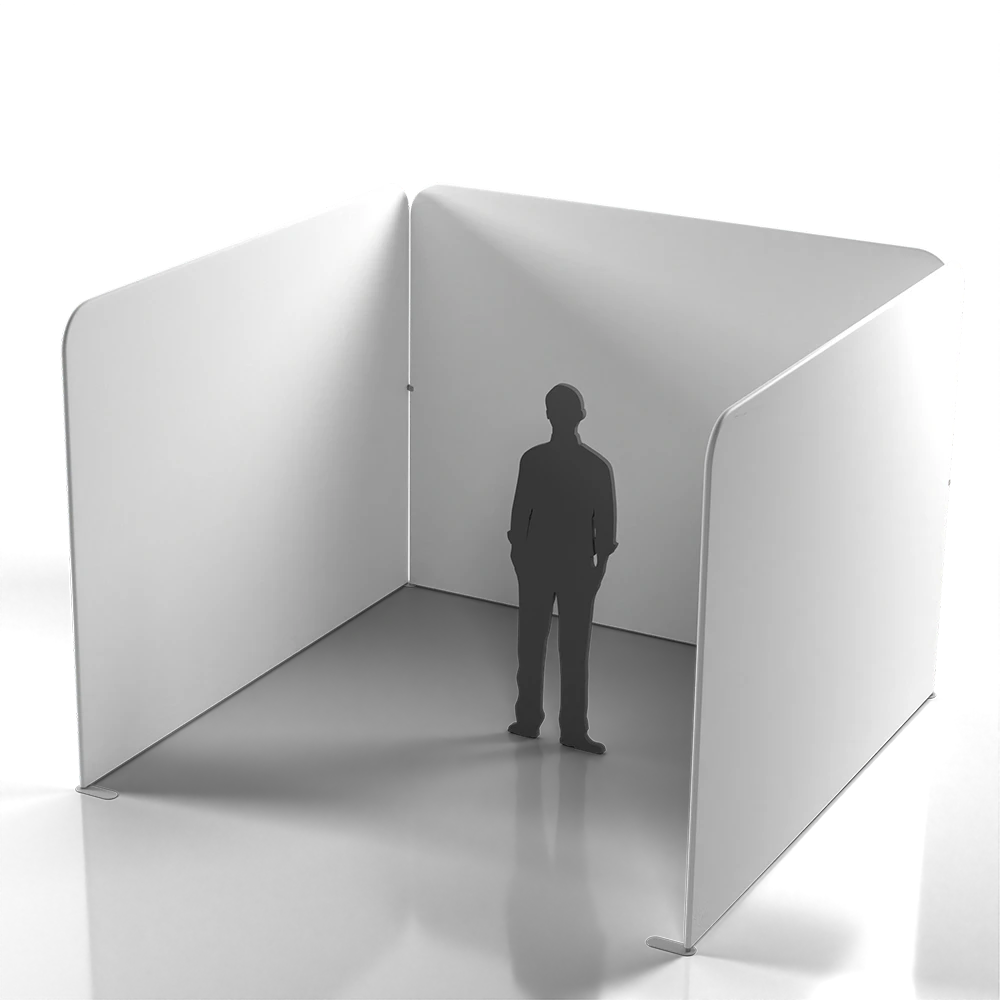
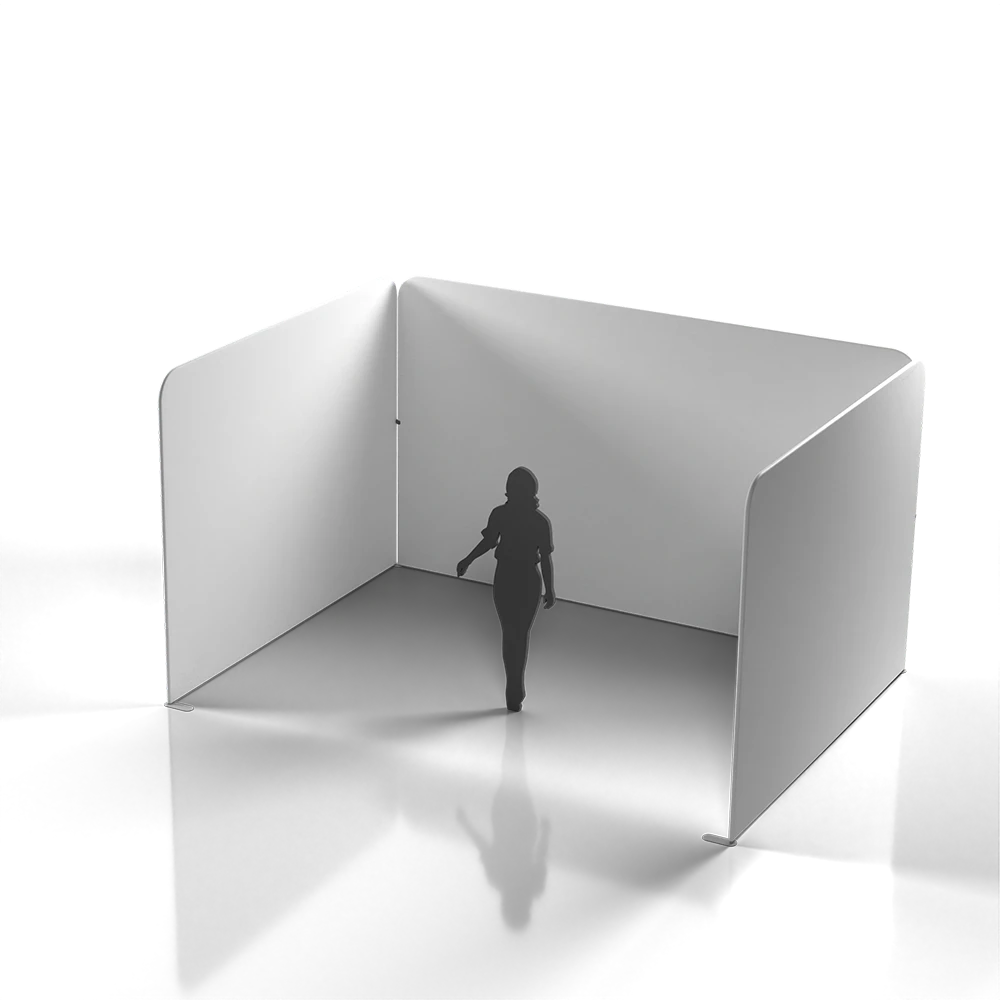
Three Walls
What You Get
- Snap-fit aluminium frame
- Stretch fabric graphic (printed either single-sided)
- Carry bag
- Set of gloves for applying the graphic(s)
Specification
| Name | 2m × 1m (2-Wall) | 2m × 2m (2-Wall) | 3m × 1m (2-Wall) | 3m × 2m (2-Wall) | 3m × 3m (2-Wall) | 4m × 1m (2-Wall) | 4m × 2m (2-Wall) | 4m × 3m (2-Wall) | 4m × 4m (2-Wall) | 2m × 1m (3-Wall) | 2m × 2m (3-Wall) | 3m × 3m (3-Wall) | 4m × 3m (3-Wall) | 4m × 4m (3-Wall) |
|---|---|---|---|---|---|---|---|---|---|---|---|---|---|---|
| Overall Width | 2000mm | 2000mm | 2910mm | 2910mm | 2910mm | 4000mm | 4000mm | 4000mm | 4000mm | 2000mm | 2000mm | 2910mm | 4000mm | 4000mm |
| Overall Height | 2270mm | 2270mm | 2270mm | 2270mm | 2270mm | 2270mm | 2270mm | 2270mm | 2270mm | 2270mm | 2270mm | 2270mm | 2270mm | 2270mm |
| Overall Depth | 1000mm | 2000mm | 1000mm | 2000mm | 2910mm | 1000mm | 2000mm | 2910mm | 4000mm | 1000mm | 1000mm | 2910mm | 2910mm | 4000mm |
Assembly Demonstration
Assembly Recommendations
- Snap together the frame pieces, using the indicated number stickers.
- Using the included gloves, slide the graphic over the frame. (To avoid the internal hems creating an uneven finish along the edge of the unit, apply the graphic twisted about 30-50mm towards the left or right. Slowly pull the graphic to the bottom of the frame. You will now have part of the rear graphic on the front, or vice-versa. Once the graphic is pulled as far downwards as possible, grip both left and right sides of the frame and twist the graphic into the correct position.)
- Fasten the zip under the bottom edge of the frame.
- Straight frames only: using the provided allen key, screw the feet into the frame.
Notice
Fabric Exhibition Solutions are recommended for indoor use only, and are not suitable for outdoor use.
Please note, due to the nature of fabrics that are not completely opaque, when these graphics are subject to strong lighting (especially from above or behind), some visibility of the frame through the graphic is possible. To avoid this, we recommend limiting the amount of light above or behind the unit, as well as adjusting the positioning of the unit.
While we make every effort to finish these graphics as accurately and consistently as possible, due to the nature of printing, cutting and finishing fabrics, some material movement and minor imperfections in alignment can be introduced. For this reason, we highly recommend not wrapping continuous or detailed shapes between front and rear graphics.
Graphics can be washed in a regular washing machine on a 30° wash without detergents. Always allow graphics to completely dry before using or storing.
Artwork Templates
| INDD | AI | EPS | ||||
|---|---|---|---|---|---|---|
| Straight 1m (Single-Sided) | ||||||
| Straight 2m (Single-Sided) | ||||||
| Straight 3m (Single-Sided) | ||||||
| Straight 4m (Single-Sided) | ||||||
These templates will help you create your design at the correct size, shape and proportion for the Fabric Exhibition Solutions, and are setup at 20% scale of full size.
This templates are 20% scale of full size, and must not be re-sized or scaled.
Shape
- The red line is the bleed line. Artwork must extend to this line. Any space between this line and the safe area line must only be used as a quiet area.
- The blue line is the finished line. This is the approximate perimeter of the visible area, after the graphic has been fitted to the unit.
- The green line is the safe area line. Important content (text, logos etc.) must be kept within this line.
Layers
Please note, this template contains a locked layer that is set to be non-printing. Any artwork elements that are put on this layer will not be included in exported PDFs, and will not be printed. Please check your exported artwork before sending it to us.
- Guide (Non-Printing) (locked). Must not contain any of your design elements. May be deleted, if desired.
- Design. Must be used to create and supply your design.
Artwork Requirements
Artwork must be supplied:
- At the exact size of the template
- With all fonts outlined
- With all images embedded
- With all design elements on the Design layer
- With all important content inside the safe area(s)
- With background/quiet content all the way to the bleed line
- With none of the template guide lines included or flattened
- With all template elements and text removed
- With no crop marks, bleed marks, colour bars or other registration marks present
- As either PDF (preferred), AI or EPS format
- With exported files checked (e.g. in Adobe Acrobat/Reader) that all design elements are included as intended
- With artwork for both sides included (applies to double-sided versions only)
Please also refer to our full list of artwork requirements.
Considerations
While we make every effort to finish these graphics as accurately and consistently as possible, due to the nature of printing, cutting and finishing fabrics, some material movement and minor imperfections in alignment can be introduced and cannot always be avoided. For this reason, important content, such as logos and text, should not escape the safe areas, and we highly recommend not attempting to span continuous or detailed shapes/lines/patterns/images/borders between front/rear or joining graphics.
Our thread colours are black or white. Our sewists will choose the most appropriate colour to complement your graphic. The only visible stitching when fitted is at the top and bottom of the left and right sides.
Currently, the dye-sublimation process does not allow for the use of Pantone colours. Any Pantone colours must either be converted to (or replaced with) CMYK colours before supplying your print-ready file.
Marketing and Re-Sale Resources
Please log in to view our marketing resources.
If you do not have an account with us please register now.


