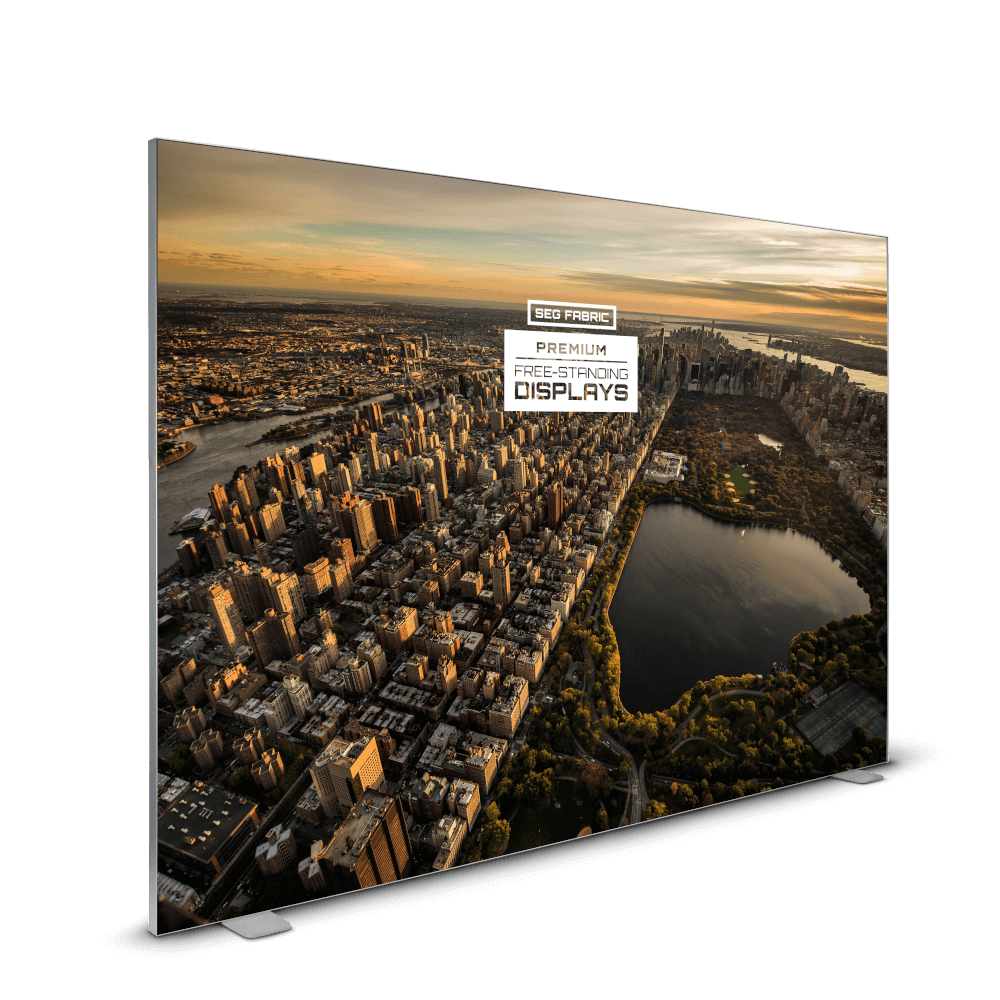
Replacement Graphics for SEG Fabric Displays
Product Overview
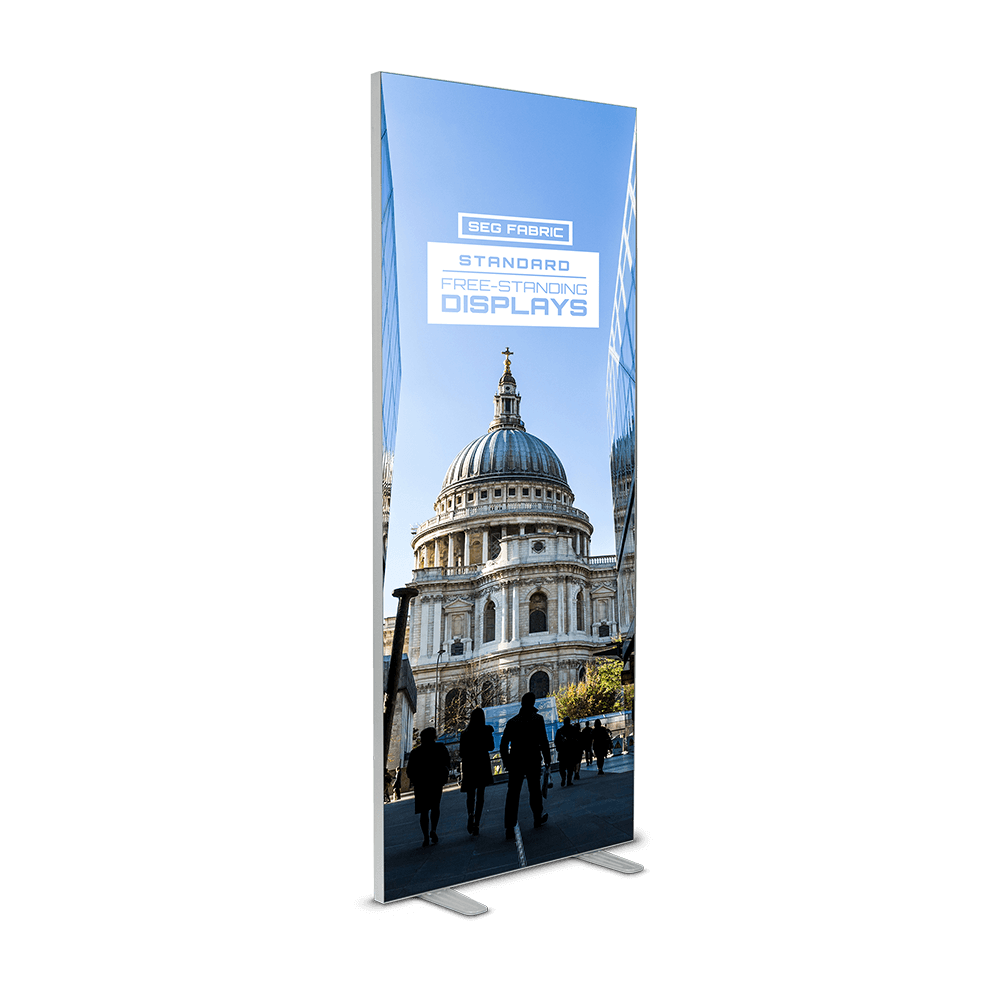
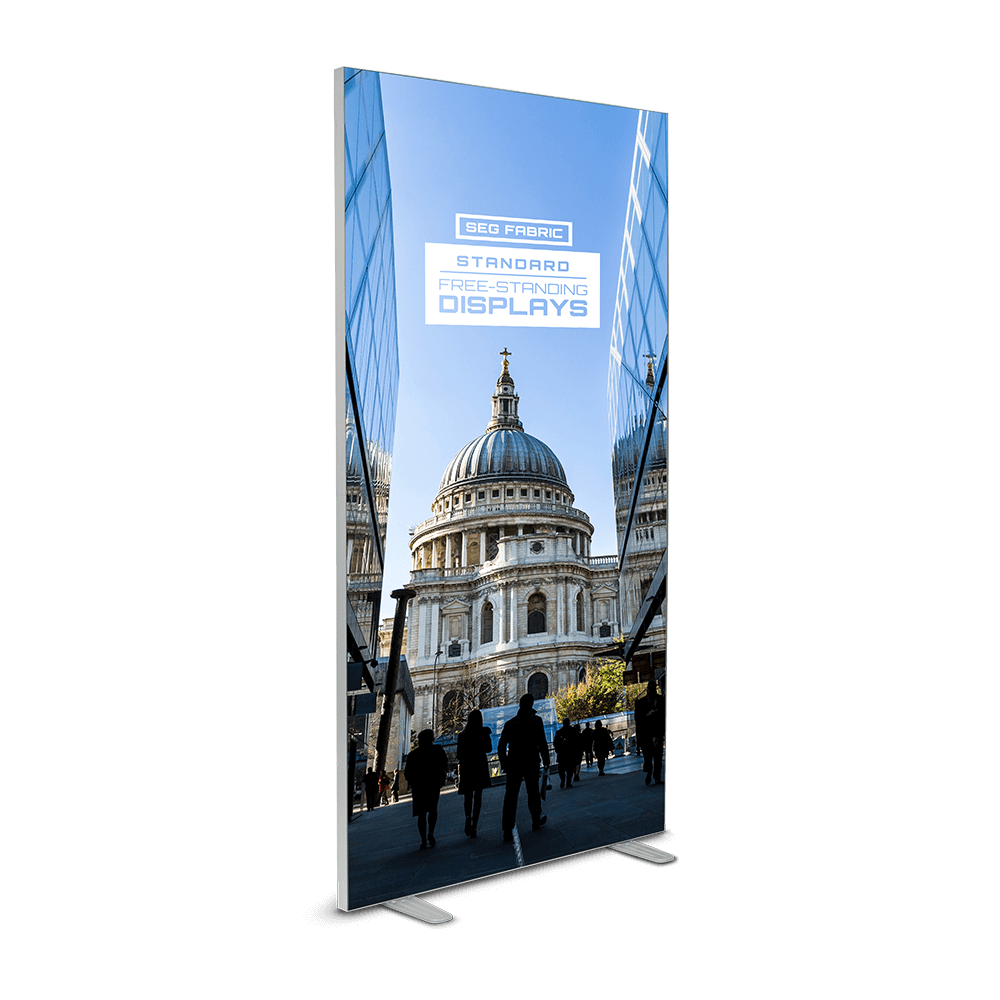
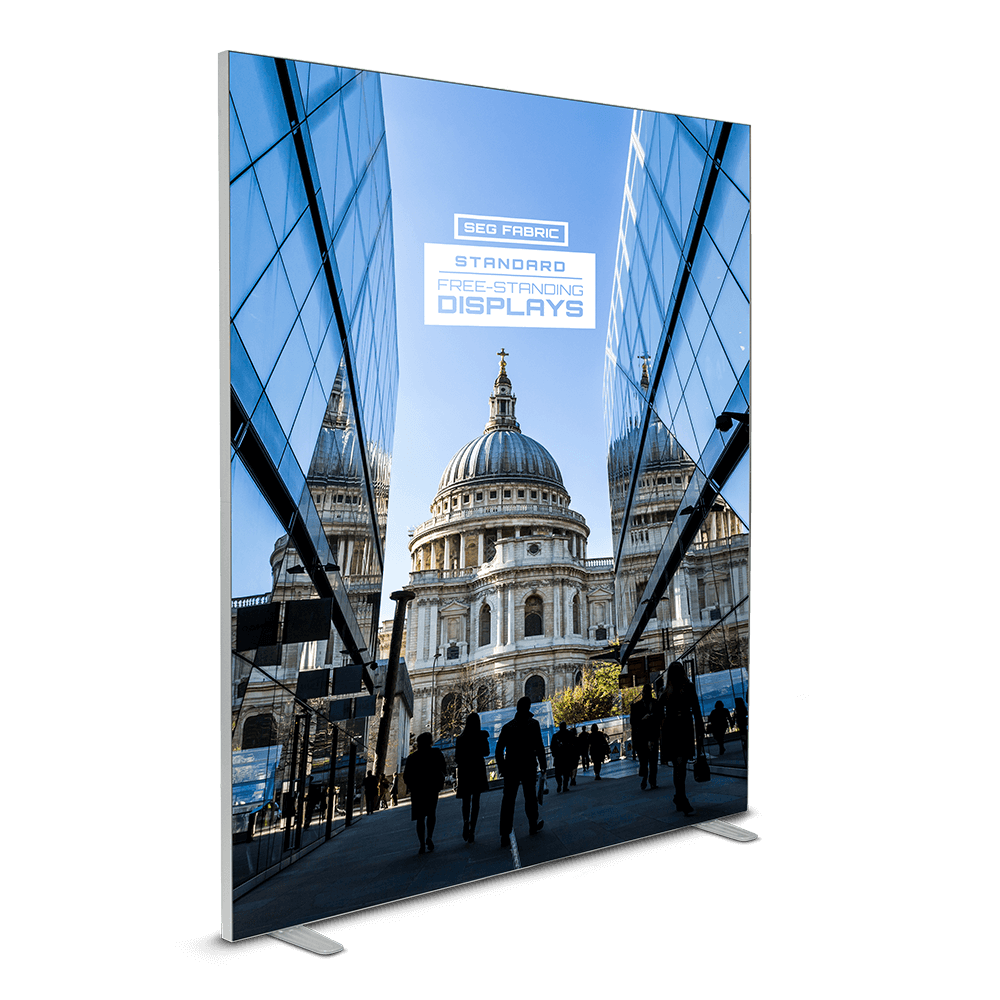
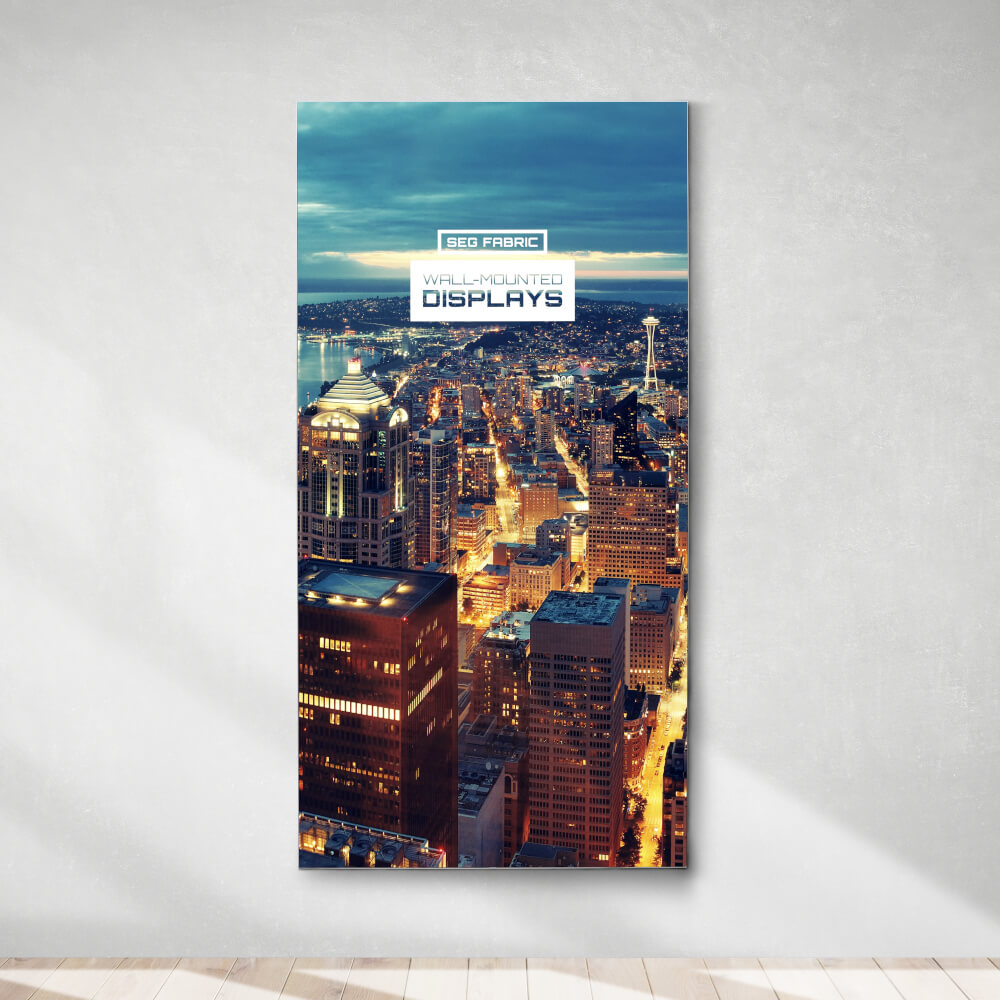
These replacement graphics are all you need to completely re-skin an existing SEG Fabric Free-Standing Display (Standard or Premium) frame or an SEG Fabric Wall-Mounted Display frame.
Unit not included with replacement graphics.
Importantly, these graphics are only for front-lit use cases, and are not intended for use with a back-lit SEG Lightbox, unless you no longer need the graphic to be back-lit.
The fabric graphic is printed by a VUTEk FabriVU 340 onto 210gsm Display Polyester with dye-sublimation for great image vibrancy. The graphic is finished with silicone edging and is then inserted into the aluminium frame and tensioned around the edge.
Each graphic is finished with a nylon pull tab as standard. This aids easy removal of the graphic from the frame, which can be tricky without a pull tab. By default, this is affixed to an upper corner of the graphic to prevent children reaching it. Please let us know if you would prefer the pull tab to be located elsewhere or not supplied at all.
Graphic Quantities
Prices listed are for one graphic, which can be used to re-skin one side of a Free-Standing Display or a single Wall-Mounted Display.
If you require two graphics (to re-skin both sides of a Free-Standing display), you should order two graphics.
Bespoke Sizes
If you require a bespoke size graphic for a frame, please use our price calculator, choosing Display Polyester and Trimmed with Silicone Edging (Kedar).
Artwork Templates
| INDD | AI | EPS | ||||
|---|---|---|---|---|---|---|
| SEG Fabric Graphic (0.85m × 2m) | ||||||
| SEG Fabric Graphic (1m × 2m) | ||||||
| SEG Fabric Graphic (1.5m × 2m) | ||||||
| SEG Fabric Graphic (2m × 2m) | ||||||
| SEG Fabric Graphic (3m × 2m) | ||||||
| SEG Fabric Graphic (3m × 3m) | ||||||
These templates will help you create your design at the correct size, shape and proportion for the Replacement Graphics for SEG Fabric Displays, and are setup at 100% scale of full size.
Shape
- The red line is the bleed line. Artwork must extend to this line. The areas in between this line and the safe area line must only be used as a quiet area.
- The purple line is the cut line. This is the perimeter of the cut graphic area, before any finishing. The area in between this line and the finished line will be used for silicone edging.
- The blue line is the approx. finished line. This is the approximate perimeter of the visible graphic area, after the graphic has been fitted to the unit.
- The green line is the safe area line. Important content (text, logos etc.) must be kept within these lines.
Layers
Please note, these templates contain a locked layer that is set to be non-printing (.ai, .eps, .idml). Any artwork elements that are put on this layer will not be included in exported PDFs, and will not be printed. Please check your exported artwork before sending it to us.
- Guides (Non-Printing) (locked). Must not contain any of your design elements. May be deleted, if desired.
- Design. Must be used to create and supply your design.
Artwork Requirements
Artwork must be supplied:
- At the exact size of this template
- With all fonts outlined
- With all images embedded
- With all design elements on the Design layer
- With background/quiet content all the way to the bleed line(s)
- With all important content inside the safe area(s)
- With none of the template guide lines included or flattened
- With no crop marks, bleed marks, colour bars or other registration marks present
- As either PDF (preferred), AI or EPS format
- With exported files checked (e.g. in Adobe Acrobat/Reader) that all design elements are included
Please also refer to our full list of artwork requirements.
Considerations
Please bear in mind that due to potential movement, shrinkage, and expansion during printing, calenderisation, cutting, finishing and fitting, we highly recommend avoiding the use of framed borders and other design elements that follow or rely on distance to the perimeter of the graphic. Doing so would run the risk of a visually uneven edge as we cannot guarantee even borders when cut.
For back-lit graphics only: please be aware that edge-lit lightboxes work best with busy, vibrant designs. Plain and single-colour designs can highlight lighting anomalies.
Currently, the dye-sublimation process does not allow for the use of Pantone colours. Any Pantone colours must either be converted to (or replaced with) CMYK colours before supplying your print-ready file.

